
Intelligent Vulnerability Management On OCI(Part 02)
- Nikhil Verma
- Feb 26
- 6 min read
Updated: Mar 2
In Part 01, we covered the entire workflow and prerequisites.
In this section, I will focus on how I created and deployed an ML model using the OCI Data Science service.

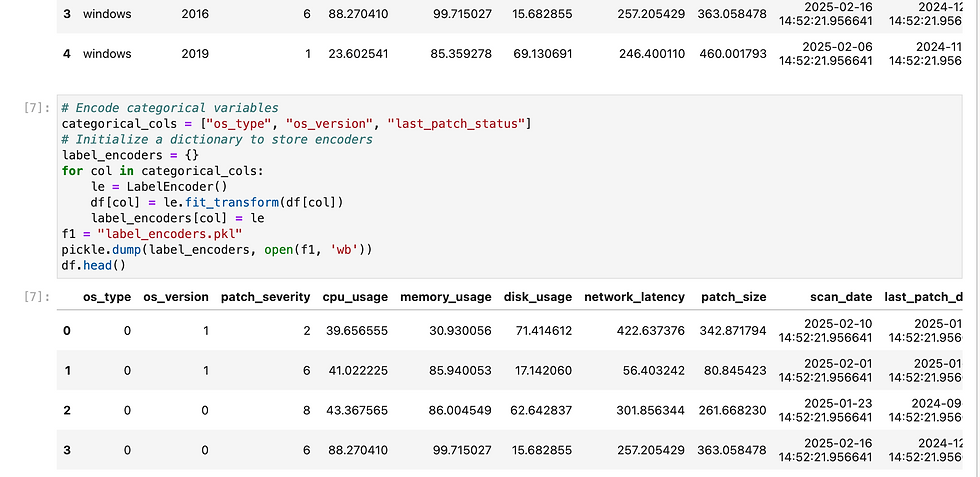
Let's begin with the machine learning model, a complex yet fascinating component of modern artificial intelligence. To develop any machine learning (ML) model effectively, it is imperative to have a substantial amount of relevant data that accurately represents the problem domain. This data serves as the foundation upon which the model learns and makes predictions or classifications. The quality, quantity, and diversity of the data can significantly influence the model's performance, generalization capabilities, and robustness.
In this particular instance, I have generated some data artificially using a Python script. This method of data generation is particularly useful when real-world data is scarce, difficult to obtain, or when it is necessary to create specific scenarios for testing the model's performance under controlled conditions. By utilizing libraries such as NumPy and Pandas, I was able to create a synthetic dataset that mimics the characteristics of real-world data.
The process involved defining the parameters and features that are relevant to the problem being addressed. For example, if we were developing a model for predicting house prices, the dataset might include features such as square footage, number of bedrooms, location, and age of the property. The script would then generate a range of values for these features, ensuring that they follow realistic distributions based on known data patterns. This could involve using random number generators, statistical distributions, or even simulating certain relationships between variables to create a more coherent dataset.
Moreover, generating data artificially allows for the inclusion of edge cases and anomalies that may not be present in real datasets. This can be particularly valuable for training models to recognize and handle outliers, which are crucial for building robust systems. Additionally, it provides the flexibility to create datasets of varying sizes, which can be instrumental in evaluating how well the model scales and performs with different amounts of data.
In summary, the generation of artificial data through a Python script not only facilitates the initial stages of model development but also enhances the overall learning process. It enables the creation of diverse and comprehensive datasets tailored to specific needs, thereby laying a solid groundwork for building an effective machine learning model.
import pandas as pd
import numpy as np
from datetime import datetime, timedelta
# Generate synthetic dataset
num_records = 5000
os_versions = {
"Windows Server": ["2016", "2019", "2022"]
}
# Function to generate random timestamps
def random_date(start, end):
return start + pd.to_timedelta(np.random.randint(0, (end - start).days), unit="D")
# Generate scan_date and last_patch_date
today = pd.Timestamp.today()
scan_dates = [random_date(today - pd.Timedelta(days=30), today) for _ in range(num_records)]
last_patch_dates = [random_date(today - pd.Timedelta(days=180), scan_date) for scan_date in scan_dates]
# Generate downtime_start and downtime_end
downtime_starts = [random_date(last_patch, last_patch + pd.Timedelta(days=3)) for last_patch in last_patch_dates]
downtime_durations = np.random.randint(5, 60, num_records) # Downtime in minutes
downtime_ends = [start + pd.Timedelta(minutes=duration) for start, duration in zip(downtime_starts, downtime_durations)]
data = {
"instance_id": [f"instance_{i}" for i in range(num_records)],
"os_type": ["Windows"] * num_records,
"os_version": [],
"patch_id": [f"patch_{i}" for i in range(num_records)],
"patch_severity": np.random.randint(1, 11, num_records), # CVSS score (1-10)
"cpu_usage": np.random.uniform(10, 100, num_records), # CPU utilization %
"memory_usage": np.random.uniform(20, 100, num_records), # Memory usage %
"disk_usage": np.random.uniform(5, 100, num_records), # Disk usage %
"network_latency": np.random.uniform(1, 500, num_records), # Network delay in ms
"patch_size": np.random.uniform(50, 500, num_records), # Patch size in MB
"scan_date": scan_dates,
"last_patch_date": last_patch_dates,
"downtime_start": downtime_starts,
"downtime_end": downtime_ends,
"downtime_duration": downtime_durations,
"last_patch_status": [],
"patch_success": []
}
# Assign OS versions based on OS type
for i in range(num_records):
data["os_version"].append(np.random.choice(os_versions["Windows Server"]))
# Assign last_patch_status randomly
data["last_patch_status"] = [np.random.choice(["SUCCEEDED", "FAILED", "Not Available"], p=[0.75, 0.2, 0.05]) for _ in range(num_records)]
# Assign patch_success based on conditions
for i in range(num_records):
high_failure_conditions = (
data["disk_usage"][i] > 95 or
data["patch_severity"][i] >= 9 or
data["cpu_usage"][i] > 95 or
data["memory_usage"][i] > 95 or
data["network_latency"][i] > 300 or
data["patch_size"][i] > 400 or
data["last_patch_status"][i] == "Failed"
)
if high_failure_conditions:
data["patch_success"].append(np.random.choice([0, 1], p=[0.9, 0.1])) # 0% failure rate in bad conditions
else:
data["patch_success"].append(np.random.choice([0, 1], p=[0.2, 0.8])) # 20% failure rate in good conditions
# Create DataFrame
df = pd.DataFrame(data)
# Save dataset
df.to_csv("synthetic_patch_data.csv", index=False)
print("Synthetic dataset generated successfully!")
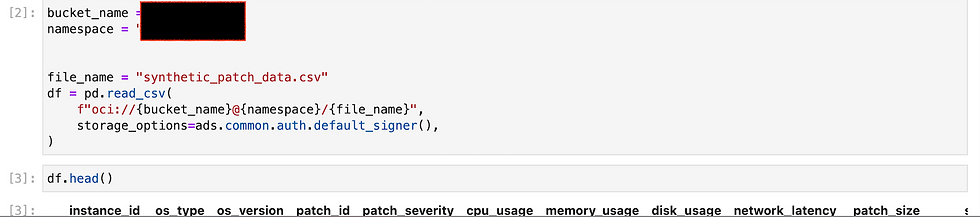
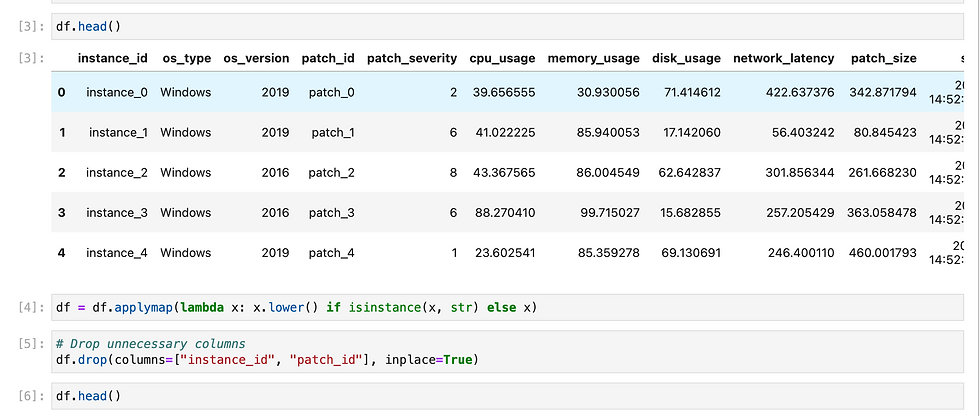
print(df.head())This script will generate Synthetic data.
Let's create ML model using synthetic data.
Before that we will first create Datascience project in OCI.
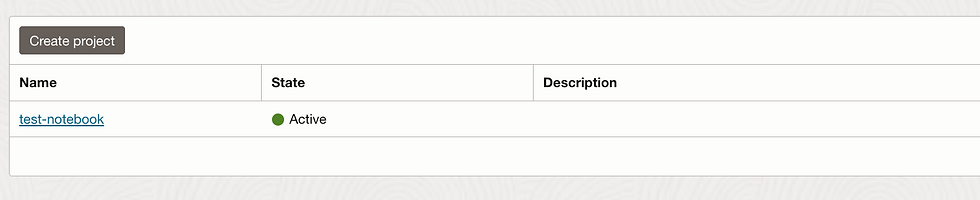
Let's create Notebook Session.

Launch this Notebook session and go to environment explorer , select conda environment. For this i have used this:
oci://service-conda-packs@id19sfcrra6z/service_pack/cpu/General_Machine_Learning_for_CPUs_on_Python_3.11/1.0/generalml_p311_cpu_x86_64_v1Go to terminal and install this

Now our conda environment is ready, let's launch Jupyter Notebook.
Since we need to predict binary outcome so i have used regression methods.
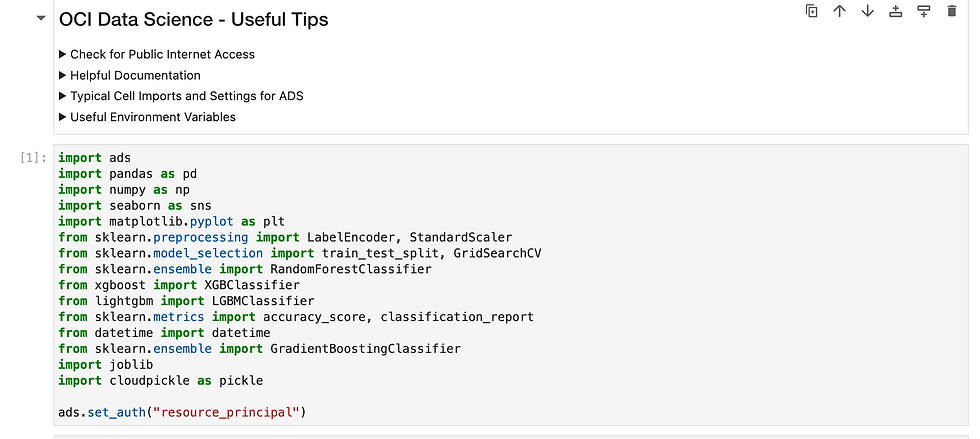

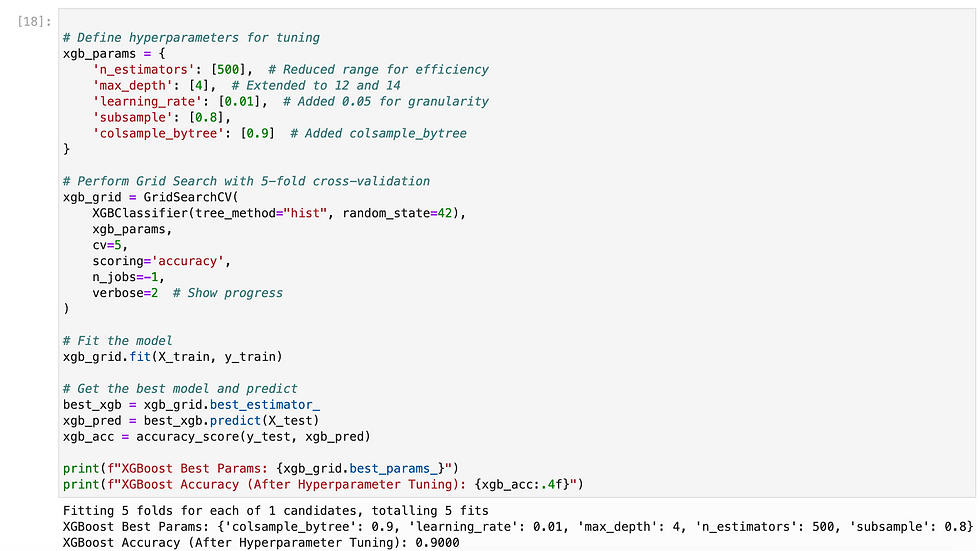
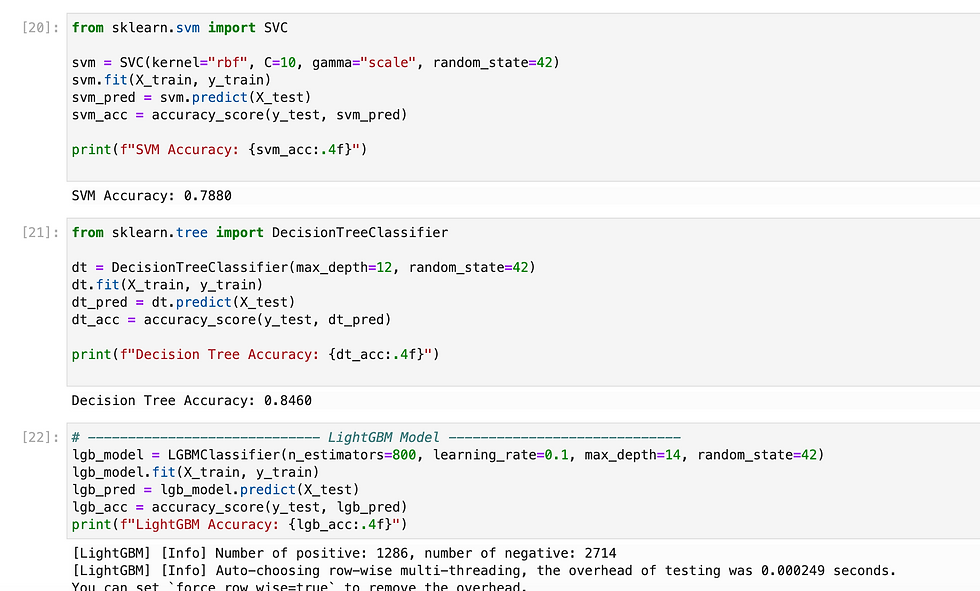
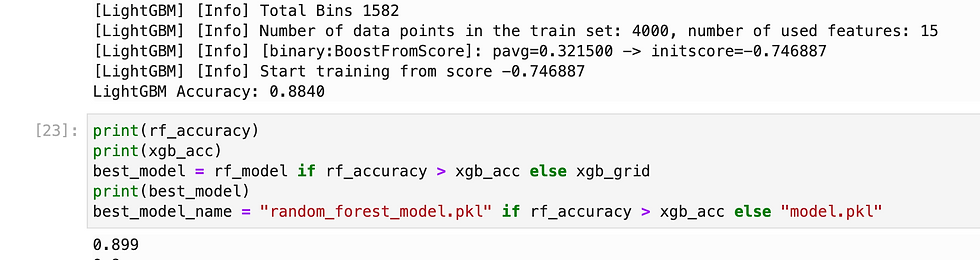

So i have tried multiple methods and found XGB gave highest accuracy, so i have exported it as pkl.

Let's prepare for Model deployment
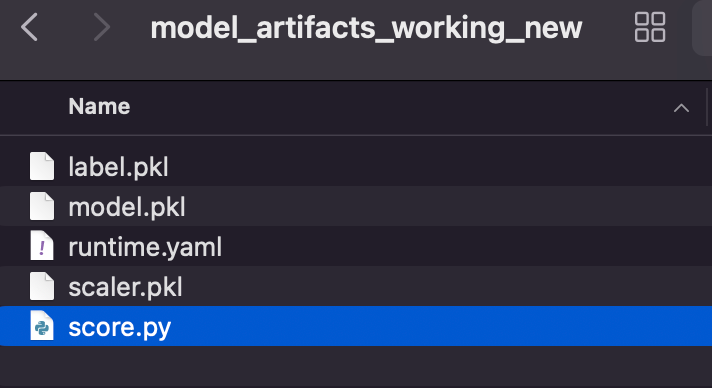
We need two important files Score.py and runtime.yaml
Runtime.yaml is basically provide info to load conda env.
MODEL_ARTIFACT_VERSION: '3.0'
MODEL_DEPLOYMENT:
  INFERENCE_CONDA_ENV:
    INFERENCE_ENV_PATH: oci://service-conda-packs@id19sfcrra6z/service_pack/cpu/General_Machine_Learning_for_CPUs_on_Python_3.11/1.0/generalml_p311_cpu_x86_64_v1
    INFERENCE_ENV_TYPE: data_science
    INFERENCE_ENV_SLUG: generalml_p311_cpu_x86_64_v1
    INFERENCE_PYTHON_VERSION: 3.11
Score.py : In this file we need to create two functions load_model and predict.
Here i have loaded my pickles file in load functions and in predict i did data cleansing before invoke model.
import json
import os
from cloudpickle import cloudpickle
import pandas as pd
from pandas import read_json, DataFrame
from io import StringIO

model_pickle_name = 'model.pkl'
scaler_pickle_name = 'scaler.pkl'
label_name = 'label.pkl'
"""
   Inference script. This script is used for prediction by scoring server when schema is known.
"""
def load_model(model_file_name=model_pickle_name):
    """
    Loads model from the serialized format
    Returns
    -------
    model:  a model instance on which predict API can be invoked
    """
    model_dir = os.path.dirname(os.path.realpath(__file__))
    contents = os.listdir(model_dir)
    print(contents)
    if model_file_name in contents:
        with open(os.path.join(os.path.dirname(os.path.realpath(__file__)), model_file_name), "rb") as file:
            return cloudpickle.load(file)
    else:
        raise Exception('{0} is not found in model directory {1}'.format(model_file_name, model_dir))

def load_scaler(model_file_name=scaler_pickle_name):
    """
    Loads model from the serialized format
    Returns
    -------
    model:  a model instance on which predict API can be invoked
    """
    model_dir = os.path.dirname(os.path.realpath(__file__))
    contents = os.listdir(model_dir)
    print(contents)
    if model_file_name in contents:
        with open(os.path.join(os.path.dirname(os.path.realpath(__file__)), model_file_name), "rb") as file:
            return cloudpickle.load(file)
    else:
        raise Exception('{0} is not found in model directory {1}'.format(model_file_name, model_dir))

def load_label(model_file_name=label_name):
    """
    Loads model from the serialized format
    Returns
    -------
    model:  a model instance on which predict API can be invoked
    """
    model_dir = os.path.dirname(os.path.realpath(__file__))
    contents = os.listdir(model_dir)
    print(contents)
    if model_file_name in contents:
        with open(os.path.join(os.path.dirname(os.path.realpath(__file__)), model_file_name), "rb") as file:
            return cloudpickle.load(file)
    else:
        raise Exception('{0} is not found in model directory {1}'.format(model_file_name, model_dir))


def predict(data, model=load_model(), scaler=load_scaler(), label_encoders=load_label()):

    print(data)
    df = pd.read_json(StringIO(data)) if isinstance(data, str) else DataFrame.from_dict(data)
    print("after loading df")
    print(df)
    df = df.map(lambda x: x.lower() if isinstance(x, str) else x)
    print("lowercase done")
    df.drop(columns=["instance_id", "patch_id"], inplace=True)
    print("dropping done")
    print(df.dtypes)
    print(label_encoders)
        # Apply label encoding
    categorical_cols = ["os_type", "os_version", "last_patch_status"]
    for col in categorical_cols:
        if col in df.columns:
            df[col] = label_encoders[col].transform(df[col])
    print("label encoding done")
    # Convert dates
    date_cols = ["scan_date", "last_patch_date", "downtime_start", "downtime_end"]
    for col in date_cols:
        if col in df.columns:
            df[col] = pd.to_datetime(df[col], errors='coerce')
    print("start feature engineering")
    # Feature engineering
    df["days_since_last_patch"] = (df["scan_date"] - df["last_patch_date"]).dt.days
    df["scan_day_of_week"] = df["scan_date"].dt.dayofweek
    df["scan_month"] = df["scan_date"].dt.month
    df["last_patch_week"] = df["last_patch_date"].dt.isocalendar().week
    df["last_patch_month"] = df["last_patch_date"].dt.month
    df["downtime_weekday"] = df["downtime_start"].dt.weekday
    df["downtime_hour"] = df["downtime_start"].dt.hour

    # Drop unnecessary columns
    df.drop(columns=["scan_date", "last_patch_date", "downtime_start", "downtime_end"], errors='ignore', inplace=True)
    print("dropped additional features")
    # Scale the data
    scaled_data = scaler.transform(df)
    print(scaled_data)
    scaled_df = pd.DataFrame(scaled_data, columns=df.columns)
    results = []
    for index, row in scaled_df.iterrows():
        row_array = row.values.reshape(1, -1)
        prediction = model.predict(row_array).tolist()[0]
        print(prediction)
        result = {"Index": index, "Prediction": "Success" if prediction == 1 else "Failure"}
        results.append(result)

    return json.dumps(results, indent=4)
To prepare model we need Model artifacts, Input_schema.json and Output_schema.json.
Input_Schema
{
    "schemaVersion": "1.0",
    "parameters": [
      {
        "name": "instance_id",
        "description": "Unique identifier for the OCI instance",
        "type": "string",
        "required": true
      },
      {
        "name": "os_type",
        "description": "Operating System Type (e.g.Windows)",
        "type": "string",
        "required": true
      },
      {
        "name": "os_version",
        "description": "Operating System Version",
        "type": "integer",
        "required": true
      },
      {
        "name": "patch_id",
        "description": "Unique identifier for the patch",
        "type": "string",
        "required": true
      },
      {
        "name": "patch_severity",
        "description": "Severity of the patch (e.g., 1 to 11)",
        "type": "integer",
        "required": true
      },
      {
        "name": "cpu_usage",
        "description": "CPU usage percentage of the instance",
        "type": "float",
        "required": true
      },
      {
        "name": "memory_usage",
        "description": "Memory usage percentage of the instance",
        "type": "float",
        "required": true
      },
      {
        "name": "disk_usage",
        "description": "Disk usage percentage of the instance",
        "type": "float",
        "required": true
      },
      {
        "name": "network_latency",
        "description": "Network latency in milliseconds",
        "type": "float",
        "required": true
      },
      {
        "name": "patch_size",
        "description": "Size of the patch in MB",
        "type": "float",
        "required": true
      },
      {
        "name": "scan_date",
        "description": "Timestamp of the last scan (YYYY-MM-DD HH:MM:SS)",
        "type": "string",
        "format": "date-time",
        "required": true
      },
      {
        "name": "last_patch_date",
        "description": "Timestamp of the last successful patch (YYYY-MM-DD HH:MM:SS)",
        "type": "string",
        "format": "date-time",
        "required": true
      },
      {
        "name": "downtime_start",
        "description": "Start time of the scheduled downtime (YYYY-MM-DD HH:MM:SS)",
        "type": "string",
        "format": "date-time",
        "required": true
      },
      {
        "name": "downtime_end",
        "description": "End time of the scheduled downtime (YYYY-MM-DD HH:MM:SS)",
        "type": "string",
        "format": "date-time",
        "required": true
      },
      {
        "name": "downtime_duration",
        "description": "Duration of downtime in minutes",
        "type": "float",
        "required": true
      },
      {
        "name": "last_patch_status",
        "description": "Status of the last patch (e.g., Success, Failure, Unknown)",
        "type": "string",
        "required": true
      }
    ]
  }
Output_schema.json
{
    "schemaVersion": "1.0",
    "parameters": [
      {
        "name": "patch_prediction",
        "description": "Predicted patch success status (e.g., Success, Failure)",
        "type": "array",
        "required": true
      }
    ]
  }
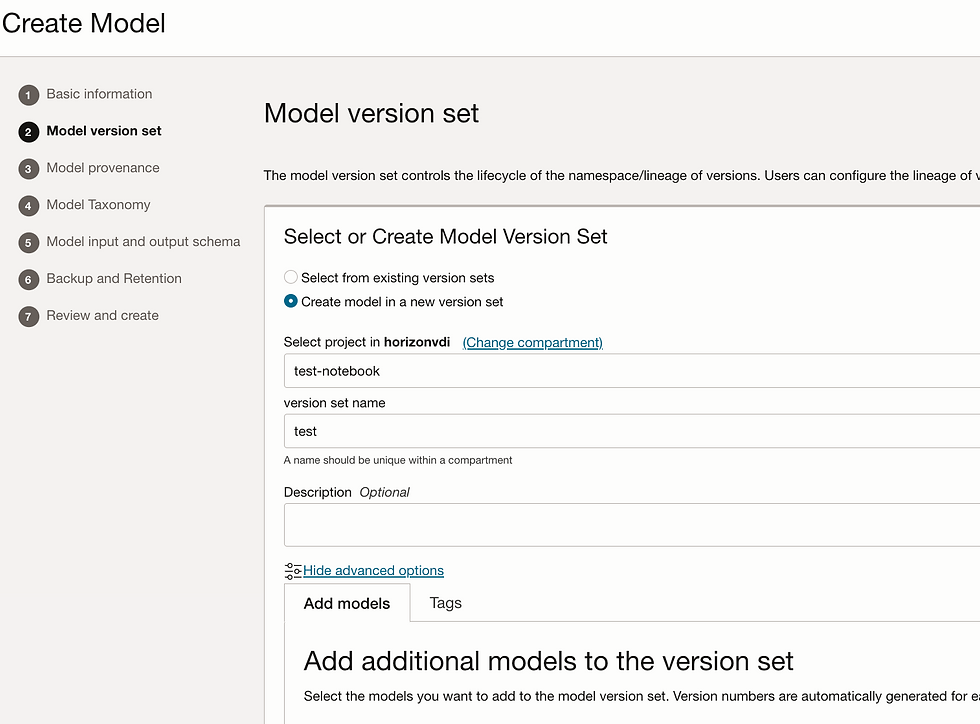
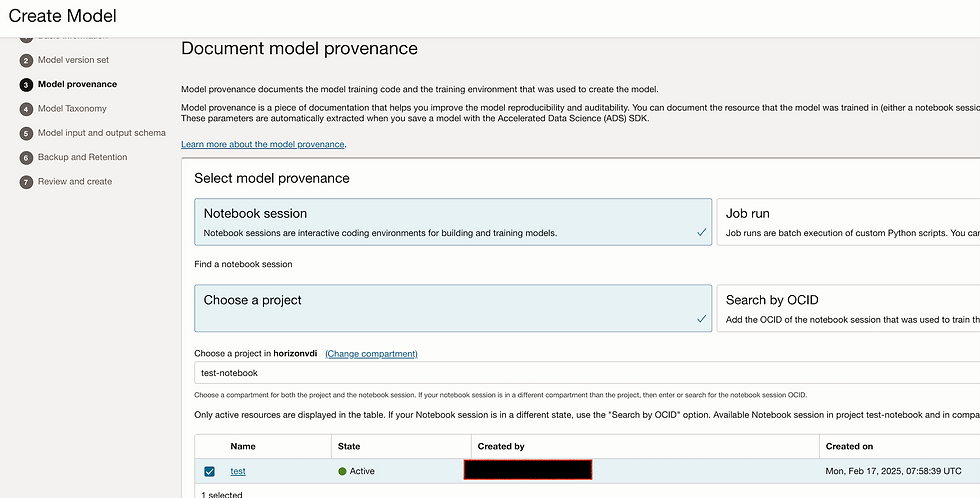
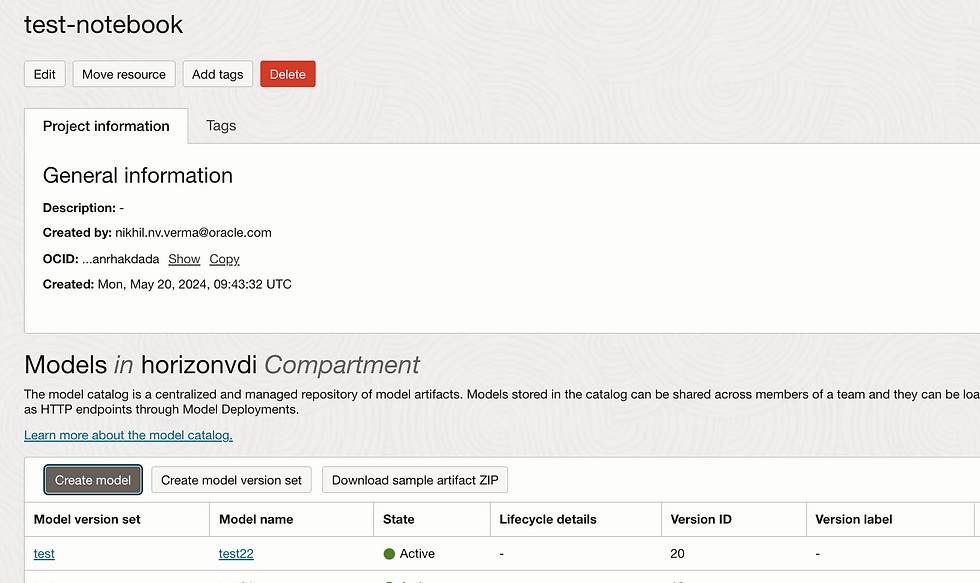
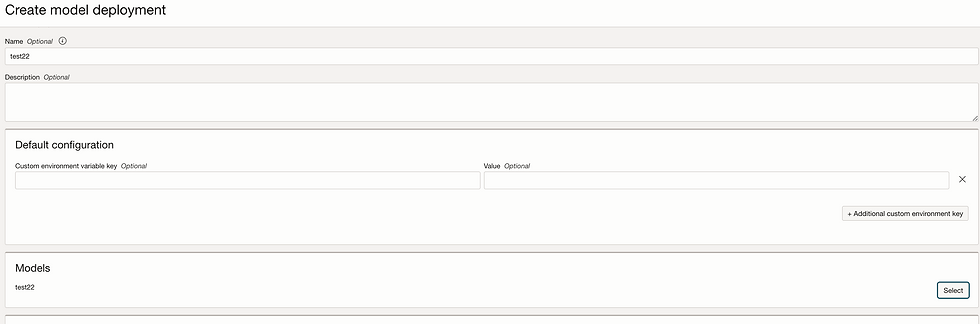
Let's create model. Go to model tab and click on create model.
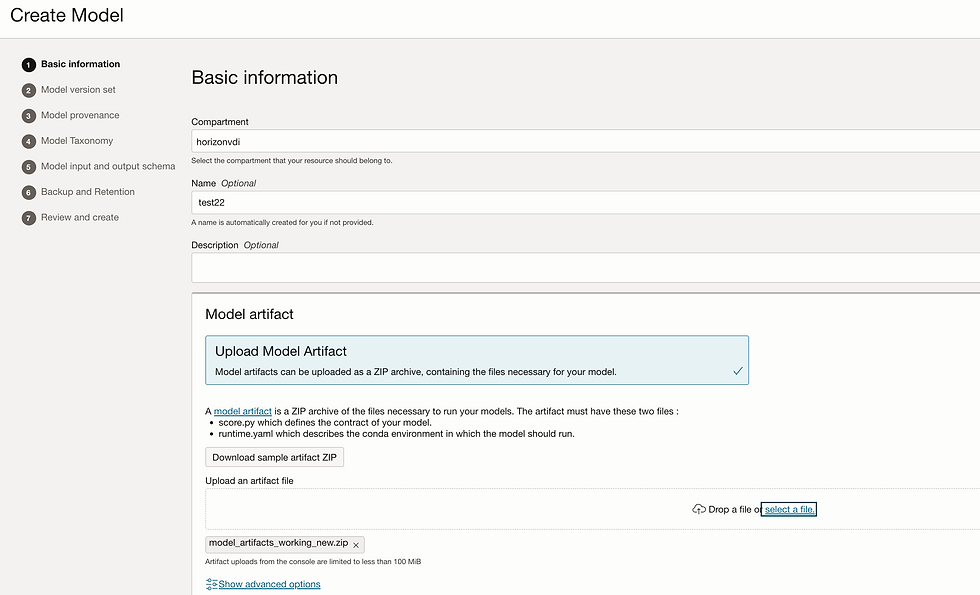
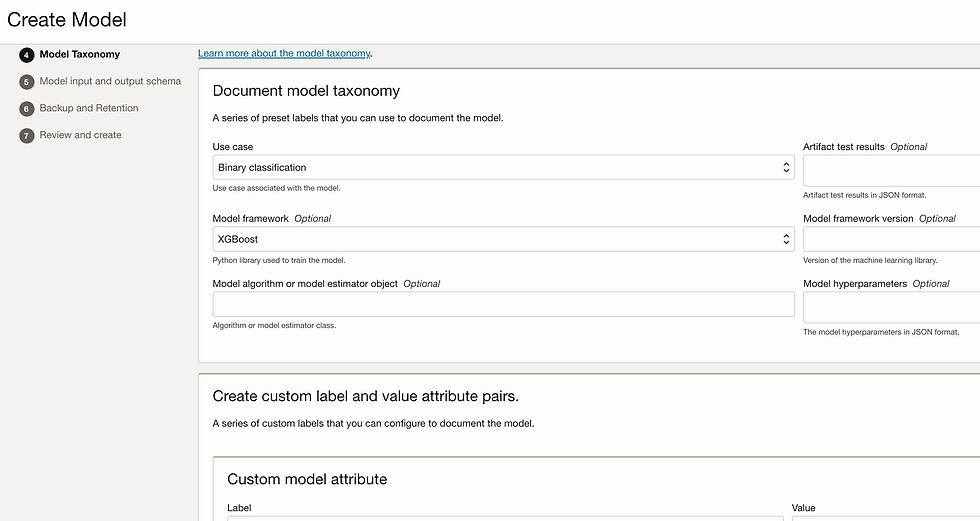
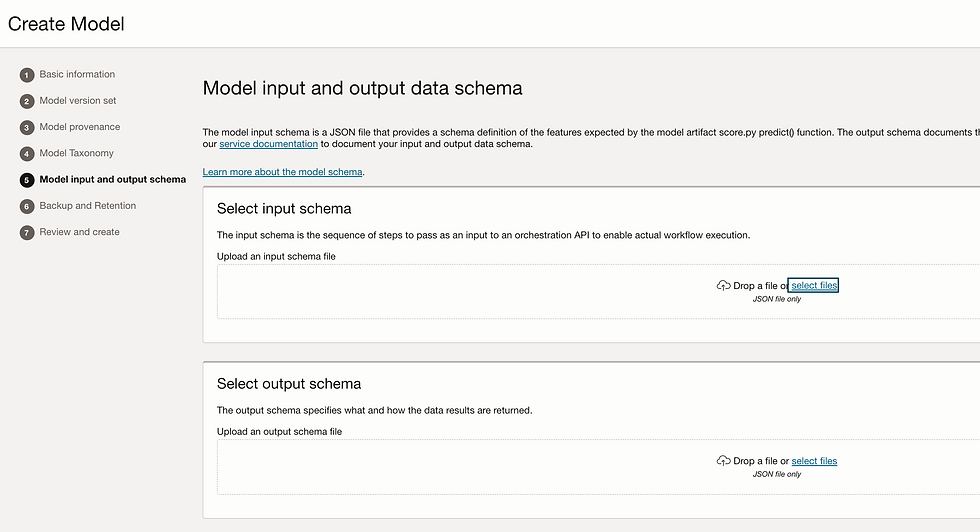
Add Input_schema.json and Output_schema.json
So my Model is ready
Let's deploy Model.
Go to model deployment


To find model invoke URL, just click on Model invoke:

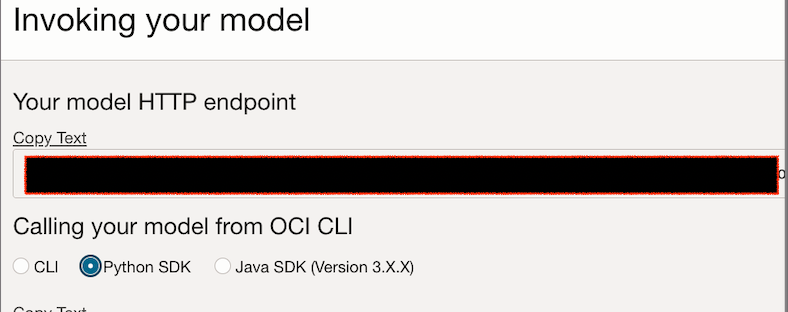
In next part we will deploy OCI functions which contains complete logic to invoke this model.
Comments